Hey Creative Crafting Crew!
- 3cartsvg
- Jun 30, 2025
- 5 min read

New to Making 3D Layered Art Shadow Boxes?
Here is the step by step, but beware, they are easily addictive!
You will want to make more and more of these amazing pieces of art!!

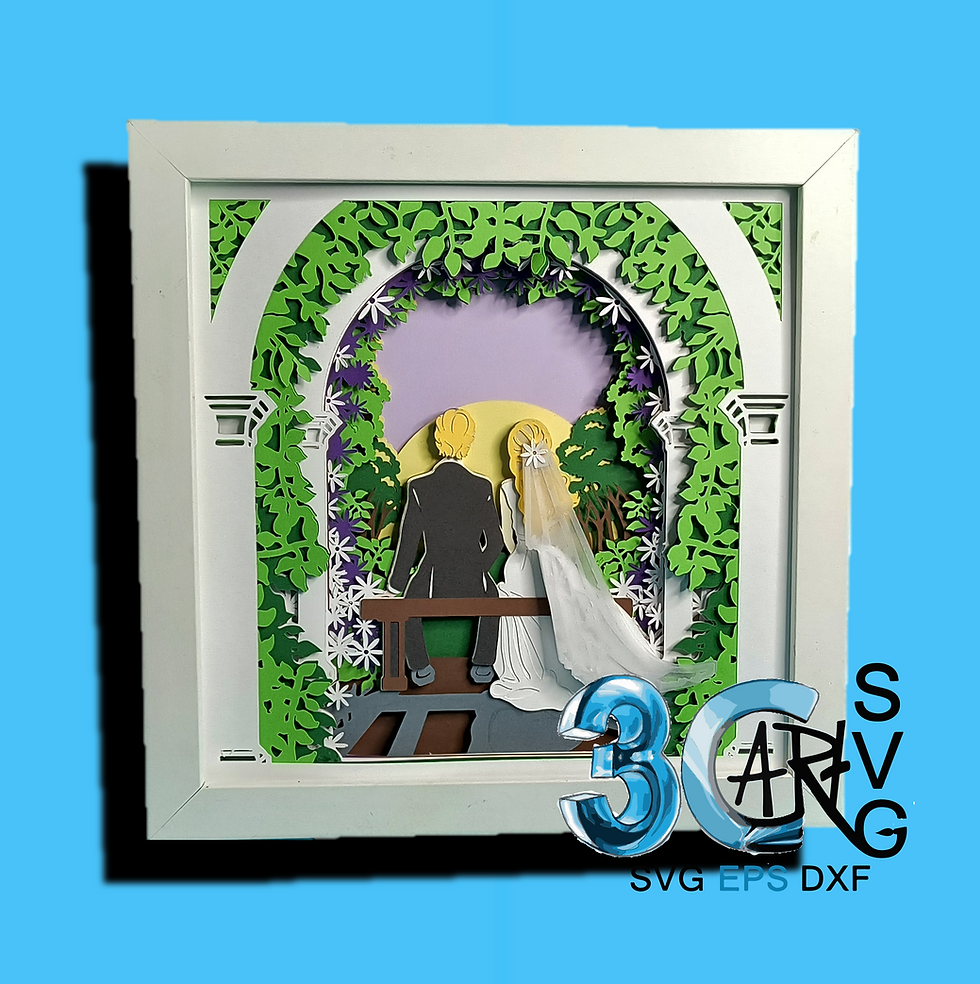
How to Assemble a Layered 3D Shadow Box
This guide will help you bring your intricate SVG design to life, creating a stunning multi-dimensional piece of art. I linked supplies I use from my Amazon Affiliate Favorites!
Estimated Time: 1-3 hours, depending on the complexity of your design and number of layers.
Supplies You'll Need:
Cutting Machine: (e.g., Cricut, Silhouette, Brother ScanNCut)
Mat: LightGrip or StandardGrip, depending on your cardstock and its stickiness. Xtra Joy mats https://amzn.to/3Gr6eqX Maker/Explore Mats https://amzn.to/44sd5Iu
Blade: Fine-Point Blade (or equivalent for your machine). https://amzn.to/3ZZ8e0e
65 lb Cardstock: Your choice of colors! Ensure it's sturdy enough to hold its shape but flexible enough for clean cuts. I usually purchase Recollections Brand from Michaels for colors. I really like Astrobrights Cardstock for white. https://amzn.to/4007Crg, 12x12 Astrodesign, https://amzn.to/3ZWsqjg
Bearly Art Precision Glue: This is my go-to! Its fine tip is perfect for intricate details and provides a strong, quick-drying bond. https://amzn.to/44HkEfN
Big Refill Bottle https://amzn.to/4lBh3pu
Small glue bottles to fill https://amzn.to/4nHzvP4
Adhesive Foam Strips (from Amazon): Look for the strips, or use foam dots typically 1/8" to 1/4" thick, for consistent spacing between layers. Here are the ones I like, https://amzn.to/44cjtoF
A Weeding Tool/Spatula: Helpful for lifting delicate cuts from your mat.
Brayer (Optional but Recommended): For ensuring good adhesion of the cardstock to the mat. https://amzn.to/4noLh0B
Tweezers: Extremely helpful for placing small foam pieces or intricate cardstock details.
Shadow Box Frame: Choose a frame with adequate depth to accommodate all your layers and foam. Common depths are 0.75" to 1.5". I use the Studio Decor Brand that comes in a 3 pack from Michaels. I cut my designs at 7.5x7.5 to fit inside. I leave the wooden insert in.
Assembly Steps (Back to Front Method):
Step 1: Prepare Your Digital Design & Cut Your Layers
(BE SURE TO MEASURE and RESIZE BEFORE CUTTING!)
Upload & Size: Import your 3D SVG design into your cutting machine's software. Ensure all layers are perfectly aligned and sized appropriately for your chosen shadow box frame.
Color Code: Assign different colors to different layers in your software, corresponding to the cardstock you'll use. This makes it easy to keep track during assembly.
Cut Your Layers: Load your 65 lb cardstock onto your cutting mat. Use the brayer tool to adhere the cardstock to the mat. Send each layer to your cutting machine. Always perform a small test cut if you're unsure about your settings for a new type of cardstock. I use a Cricut, I like to use the Intricate Cardstock setting with more pressure.
Weed Carefully: Once cut, carefully remove each design from your cutting mat using a weeding tool or spatula. Be gentle with intricate details. Organize your cut layers by number or by how they appear in your design (from back to front).
Step 2: Start with the Back Layer (Last number, if using one of my designs)
Identify your absolute back layer. This will be the largest, fullest layer and will sit flush against the back of your shadow box frame.
No Foam (Usually): Generally, this back layer does not get foam strips on its back, as it will be the foundation.
Step 3: Attach the Next Layer with Foam
Take the next Layer from the back. Flip it over to the back side.
Peel Backing: Peel the protective backing off your foam strips.
Apply Adhesive Foam Strips: Strategically place your adhesive foam strips on the back of this Layer.
Placement: Place strips along the edges and in key areas of the design to provide even support and prevent sagging. Avoid placing foam where it will show through cut-outs.
Consistency: Try to use the same thickness of foam for consistency between most layers.
Coverage: Ensure you have enough foam so the layer doesn't sag in the middle, especially for larger pieces.
Align and Adhere: Carefully align each Layer precisely over the Layer beneath it. Take your time to match up all the edges and intricate details. Once aligned, gently press down to secure the foam between each layer.
Step 4: Continue Assembling Layers
Repeat Step 3 for each subsequent layer.
Take the next Layer, apply foam to its back, peel the backing, and carefully align it over the previous Layer. Press to secure.
Continue this process for all your layers, always working from the back (already assembled layers) to the front. Each new layer will sit on foam strips placed on the back of that new layer, which then attaches to the layer before it.
Step 5: Use Precision Glue for Small Details (Optional but Recommended)
Some very intricate or small elements on a layer might not have enough space for foam strips. For these, use a tiny dot of Bearly Art Precision Glue.
Apply the glue directly to the back of the small piece, then carefully adhere it to the corresponding spot on the layer below it.
Glue for Topmost Layers: For the very front layer (Layer 20 in your case), you might choose to use a thin line of Bearly Art glue on its back instead of foam, especially if it's very delicate or you want it to sit very close to the layer beneath it. However, foam is generally preferred for the 3D effect.
Step 6: Final Alignment Check
Once all layers are assembled, gently lift your stack of layers and hold them up to the light. Look for any areas where foam might be showing through or where layers are misaligned. Make minor adjustments if possible.
Step 7: Place in Shadow Box Frame
Prepare the Frame: Remove the back of your shadow box frame. Clean the glass if necessary.
Insert the Art: Carefully place your assembled 3D layered art into the shadow box frame. The very back layer should sit flush against the back of the frame opening.
Secure the Back: Replace the backing of the shadow box frame, securing it with the clips or tabs provided.
Step 8: Display and Enjoy!
Find the perfect spot to display your beautiful, handmade 3D shadow box!
Tips for Success:
Lighting is Key: Work in a well-lit area so you can clearly see the details for alignment.
Patience: Don't rush! Precision is key for a polished look.
Clean Hands: Work with clean hands to avoid smudges on your beautiful cardstock.
Practice: If this is your first time, consider doing a small, simple layered design as a practice run.
Use a Grid (Optional): If your layers have very straight edges, a grid can help with initial alignment. You can even make one with Legos if needed.
Happy crafting! Enjoy watching your new 3D shadow box come to life!
Warmly,
Carrie